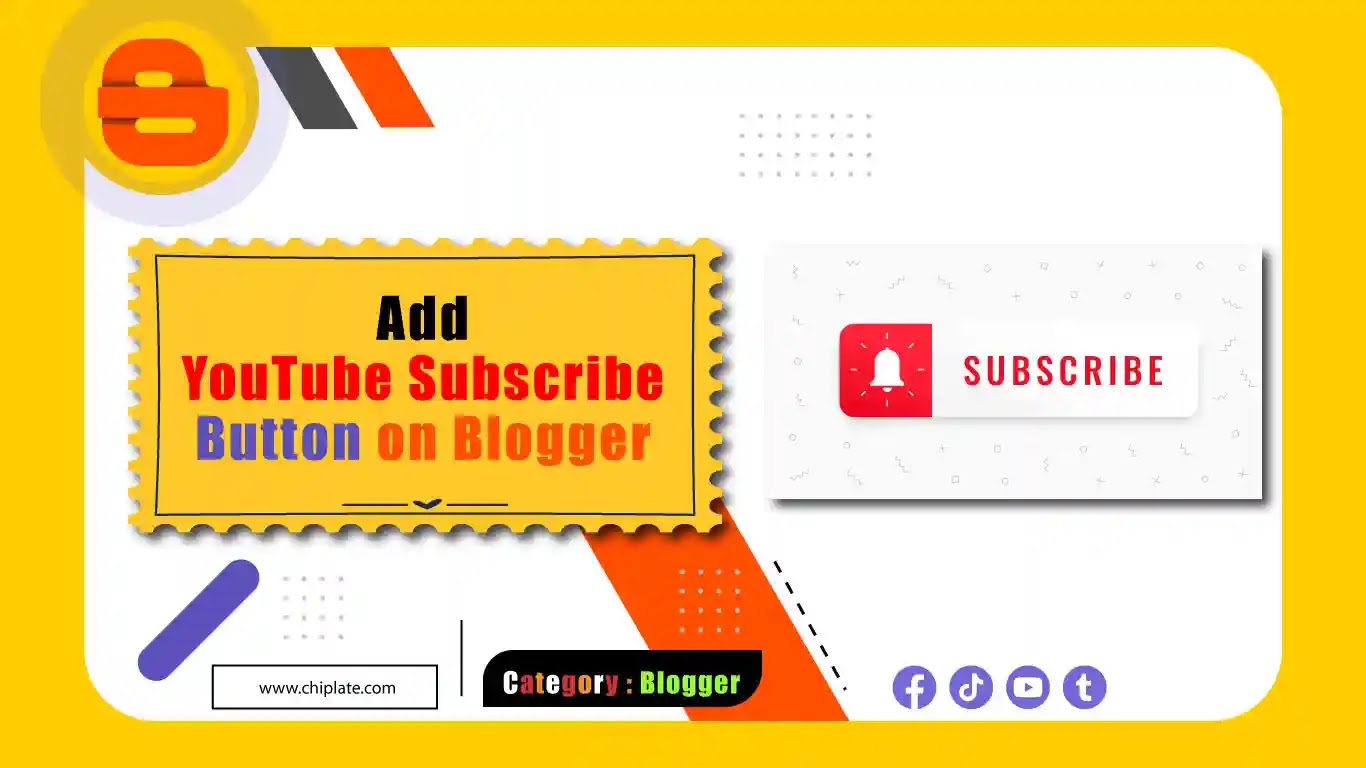
Are you looking to add a YouTube Subscribe button to your Blogger website? Adding a subscribe button to your website can help increase your YouTube channel's subscriber count and promote your content to a wider audience. In this article, we will guide you through the steps of adding a YouTube Subscribe button to your Blogger website. People Also Search For Subscribe button on website Add YouTube Subscribe Button Subscribe button HTML code YouTube Subscribe button link YouTube is the world's largest video sharing platform and is used by millions of people worldwide. If you have a YouTube channel, it is essential to promote it on various platforms, including your website. One of the best ways to promote your channel on your website is by adding a YouTube Subscribe button. The YouTube Subscribe button allows your website visitors to subscribe to your YouTube channel with a single click, without leaving your website. Adding a Subs...
In today's world, privacy and security have become increasingly important. Many bloggers want to protect their content by setting passwords for their pages. This is especially true if they want to restrict access to specific people or groups. In this article, we will discuss how to set a password for a Blogger page. Why set a password for a Blogger page? Before diving into the steps to set a password for a Blogger page, let's first understand why it's important. By setting a password, you can restrict access to your blog to only those who have the password. This can be useful in many scenarios, such as: You want to share your blog with only a specific group of people, such as family members or close friends. You want to make your blog private and share it only with those you trust. You want to restrict access to certain parts of your blog, such as a sensitive post or page. Now that we understand the importance of setting a password, let's move on to the steps to do ...
Welcome to the chiplate blogger tutorial. Today I will show you How to Automatically Redirect a Webpage with the HTML Meta Tag If you add automatic redirects to the website, the website will redirect automatically after a certain period of time. By adding Auto Redirect, the Auto Redirect is done by the website itself. Not an important setting on the website, but it will do a lot of work. One thing to always keep in mind is that users may leave the website if they get auto-redirected frequently. At low times, automatic redirection time is between 45 seconds and 75 seconds. How to Automatically Redirect a Page to another page in 5 steps Step 1: First, login to your Blogger Blog website. Step 2: Then enter 'Edit Html' in the 'Theme' option on the Blogger website's desboard. Step 3: After going to 'Edit Html', click anywhere and search for '<head>' by clicking 'Ctrl + F' on the keyboard...
Chiplate is your go-to site for everything about online games, top apps, website building, Blogger, WordPress, Facebook, Google, how-to guides, SEO, and Troubleshooting. We cover tips for site building, info on infotech and science, and everything else you need to know about the web.
Are you a blogger who wants to make sure that your readers and search engines can easily navigate through your website? Then it’s time to create a sitemap page. In this article, we’ll show you how to create a sitemap page for your Blogger blog in just a few simple steps.
Related Posts
Understanding Sitemaps
Before we dive into how to create a sitemap page for your Blogger blog, let’s take a moment to understand what sitemaps are and why they’re important.
A sitemap is a file that contains a list of all the pages on your website. This file helps search engines like Google and Bing to understand the structure of your website and find all the pages on it. Sitemaps are also helpful for users who want to quickly find the content they’re looking for on your website.
Benefits of Having a Sitemap Page
Having a sitemap page on your Blogger blog offers a lot of benefits. Here are just a few:
Improved Navigation
A sitemap page offers an easy-to-use navigation tool that allows readers to quickly find the content they’re looking for. This can help increase engagement on your blog.
Better Search Engine Optimization (SEO)
Sitemaps make it easier for search engines to crawl your site and find all the pages on it. This can improve your website’s search engine rankings, leading to more traffic and higher visibility.
Easier Content Management
A sitemap page makes it easier for you to manage your website’s content. You can use it to quickly find and edit pages, and ensure that all your pages are up-to-date.
How do I create a sitemap for Blogger?
Most websites have a sitemap page. You can easily create a sitemap page by following the three steps below. Sitemap presents all the pages or posts on a website at once. Through the Sitemap page, visitors can easily find the post they are looking for. Most importantly, the webmaster tool of the search engine crawler when it comes to the website crawler can easily crawl the pages or posts of the completed site.
The following are the steps:
If you want to setup in the right way, you have to follow the method shown in the following 3 steps. Excluding any part of 3 steps can cause problems. Therefore the setup will remain unfinished.
Step 1: Where to Code files
Copy the code file from the 'Google Drive: Code' below.
Step 2: Log in to your Blogger account
The first step to creating a sitemap page on your Blogger blog is to log in to your account.
Step 3: Create a new page
After Log in to your Blogger account in the second step, the 3rd step will be opened on the website's deskboard. Then go to the page option and open the new pages.
Step 4
If you have a compose view of the new page opened in the last step, you have to do html view. Then you have to copy and paste the completed code. Go to the end of the pasted code and change the link of the website painted yellow to give the link of your own website.Finally the page needs to be published.
Step 5: Save and publish
Click on Save and then click on Publish. Your sitemap page is now live on your Blogger blog.
How do I create a sitemap for Blogger: Code
Sitemap Page For BloggerCOde0.46KB.txt
All files on the Mironiyar site are uploaded to Google Drive.
Always keep a backup of the template XML file. As a result, if there is any problem in the XML file, the problem can be solved with the backup file. Start only applies to theme editing.
It seems there is something wrong with your internet connection. Please connect to the internet and start browsing again.
AdBlock Detected!
We have detected that you are using adblocking plugin in your browser. The revenue we earn by the advertisements is used to manage this website, we request you to whitelist our website in your adblocking plugin.
Site is Blocked
Sorry! This site is not available in your country.